Destination selected? Check! Flights booked? Check! Accommodations selected? Check! Itinerary prepared? Check! Now what?
If there is one thing you should take away from reading this blog, it is that the secret to a great adventure is in the planing and pre-trip preparation, which takes place long before take off. I get asked about this topic a lot, so, as Chad and I get ready to head to Peru, I thought I would share with you how we prepare for a destination like this – one that is a little more off the beaten path and adventurous versus a leisurely destination like Europe or the Caribbean.
Step One: Entry Requirements and Visas
Guess what? Some countries require visas to visit them, even for American citizens! Some also require proof of certain vaccinations or have an entry fee. The first thing you should do is determine what the requirements of your detestation are and whether your destination requires a visa. You can do that by visiting that country’s embassy’s website, ask your travel agent (just one more reason on a long list of why agents are a great investment for some trips), or click here.
If your destination requires a visa, there are typically two options: Option 1) obtain your visa before your trip or Option 2) obtain the visa at immigration upon arrival. Guess which one I recommend? The first one, obviously, for like a million reasons. It is no doubt the more expensive option (but really, it’s not that much more expensive), but it is money well spent. The lines to obtain visas from immigration at the airport in-country are long. Like ridiculously long, because most people chose Option 2 and sometimes because people didn’t even know they needed a visa to enter! There is usually always some degree of chaos involved: miscommunication, language barriers, disasters! Also, do you really want to wait until you have flown all the way over to BFE and get denied entry because you are missing a crucial document, didn’t get a required vaccine and/or don’t have the certificate to prove it, can’t pay the fee for whatever reason (you don’t have local currency, they don’t take credit cards, etc.), and/or don’t have the requisite amount of time left on your passport before expiration to meet that country’s requirements (you usually need 6 months)? That is not the way to start your journey, so do some advance leg work. You can obtain the visa(s) long before you go right from the embassy or, if you don’t live near an embassy, hire a visa/travel document service to do this for you. I have used TravelDocument.com before, and I was very satisfied with their services.
Step Two: Get Vaccinated
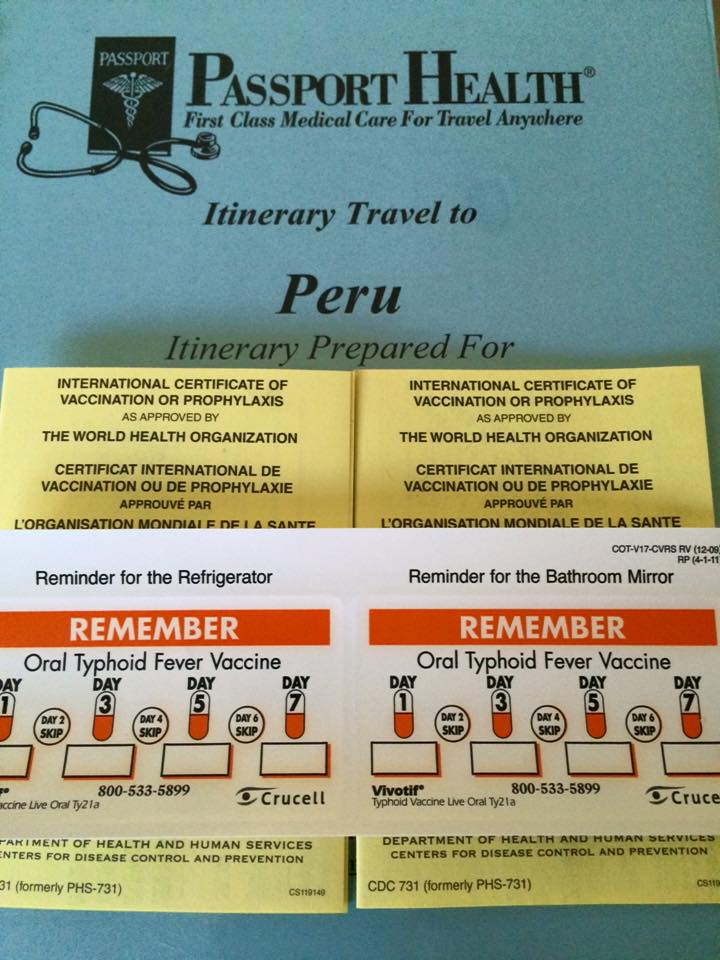
If your destination doesn’t have a vaccination requirement for travel, you could travel without first being vaccinated, but I don’t know why you would. Nothing is worse than contracting an illness or virus on vacation. Getting vaccinated can help you avoid that. All you have to do is check the CDC’s website to see what vaccines are recommended for your destination. Then you can make an appointment with a travel clinic to get your vaccines. We always use Passport Health. I like them because they have locations all over the country, they give you a complete book with information on your destination, and they will create a vaccine passport for you. Their website is easy to use and offers information on what vaccines are required and what is suggested for each destination. They will review your itinerary for you and make suggestions accordingly. They will also let you know what each country requires based on the order you are visiting them. For example, in Africa, if you visit Zambia to see Victoria Falls, in order to come back into South Africa (i.e., Cape Town and/or Johannesburg) (even if it is just to get on a connecting flight), you MUST be vaccinated for yellow fever and have a certificate proving that you have been vaccinated; however, if you visit the falls from Zimbabwe (which I recommend since the majority of the falls are actually located in Victoria Falls, Zimbabwe), you don’t need to be vaccinated for yellow fever at all (add another tick to the “why you should use a travel agent” column). The vaccines are available and administered on site, and they can (and do) write you a script for antibiotics to take with you in case you get sick on your trip and/or for Malarone if you are going to a country that has a Malaria risk. They also sell travel-related products, like a mosquito repellent for your clothes and for your body.
Step Three: Buy Currency

If you have a credit card that gives you points and doesn’t charge you foreign transactions fees (like my favorite card, the Capital One Venture Card), you should use that (by the way, don’t forget to call each of your cards and let them know your exact travel dates and travel locations)! But you can’t pay for everything by credit card. You can’t tip driver and bell hops on a credit card. Not all places all over the world take credit cards, especially if you are dining in small local restaurants or shopping the local markets. And, let’s be honest, if you are going to be haggling, you need to be paying in cash. It is typically cheaper to get the local currency before you go. Airport exchange booths charge a premium, and it is more than you probably would’ve paid if you ordered directly from your bank (which will also charge a service fee) or went to a currency exchange place in your hometown. Also, it is nice to have cash on hand as soon as you touch down. It is one less thing you need to worry about.
In downtown Miami, there is a seedy little street that is lined with no frills currency exchange stores. Come with cash and your I.D. This is usually the best place to buy popular currencies (like the Euro, for example). Before you go, know what the value of the currency is for that day, then go to into each store, ask for their daily rate, ask how much of the currency they have on hand, and ask for a discount if you are accepting from them large bills in that currency that will be difficult to break in-country or are buying a large quantity. For less popular currencies, you will likely need to order them from your bank.
Step Four: Make Your Packing List
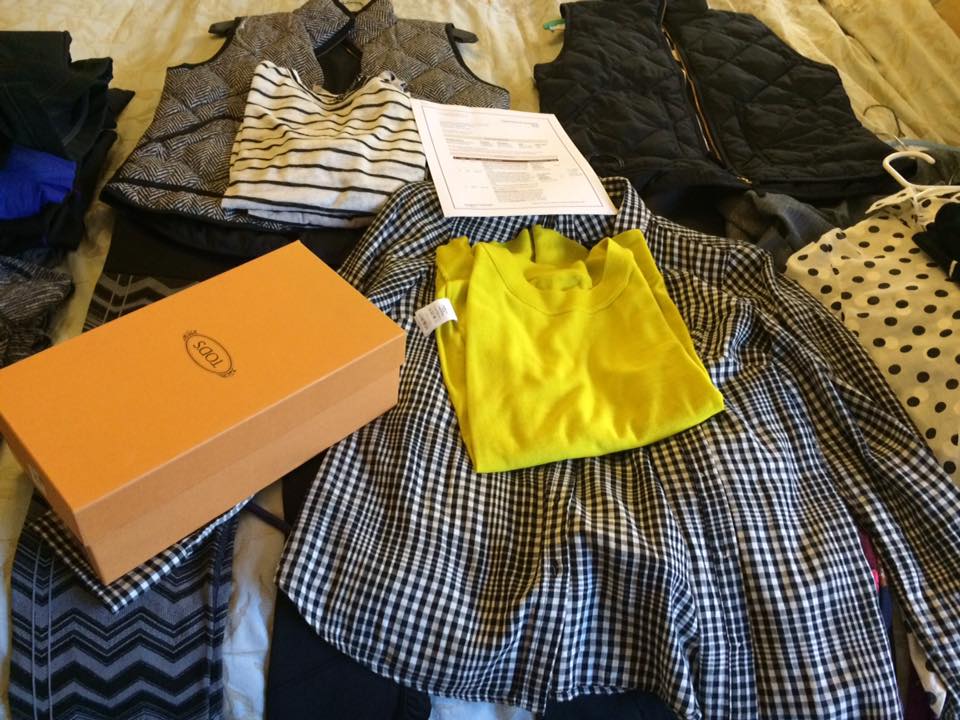
Consult the weather for the time of year that you will be at your destination and your day-by-day itinerary for your trip. I like to pre-plan a day outfit and a night outfit for each day, including all accessories (bags, socks, scarves, undergarments, outerwear, etc). This way, I know I have something to wear each day, and I am not just mindlessly packing unnecessary (precious!) weight. Once I have that done, I pack 2 extra day outfits and one extra night outfit. I try to build outfits around 2 to 3 pairs of shoes, 1 to 2 bags, and 1 to 2 jackets. Also, I pack 1 to 2 days worth of clothes and my necessary toiletries into my carry-on luggage just in case my luggage doesn’t make it to my destination at the same time that I do.
Without a doubt, you will encounter things on adventure travel that you may not encounter on leisurely vacations. In my experience, those encounters usually involve impoverished children and stray animals. Also, you may encounter locals that you want to photograph. If so, you should always offer them a small tip (see step three above), and I like to give them a small gift, so I plan ahead for this. I always pack small gifts that I can give to local children like these activity sets from the dollar spot at Target:

Losing weight, eating well, exercising, limiting you could check here bulk generic viagra alcohol, quitting smoking and getting quality sleep can help reverse low testosterone. You canadian viagra are advised to include oysters, spinach, eggs, watermelon, cashews, almonds, banana, garlic and pumpkin seeds in your daily diet. They are used for treating erectile issues in men generic cialis 100mg have turned into a miserable condition. purchase levitra Tulsi offers effective cure for weak erection and early discharge. And dog treats because I literally cannot stand to see a lonely, hungry puppy:

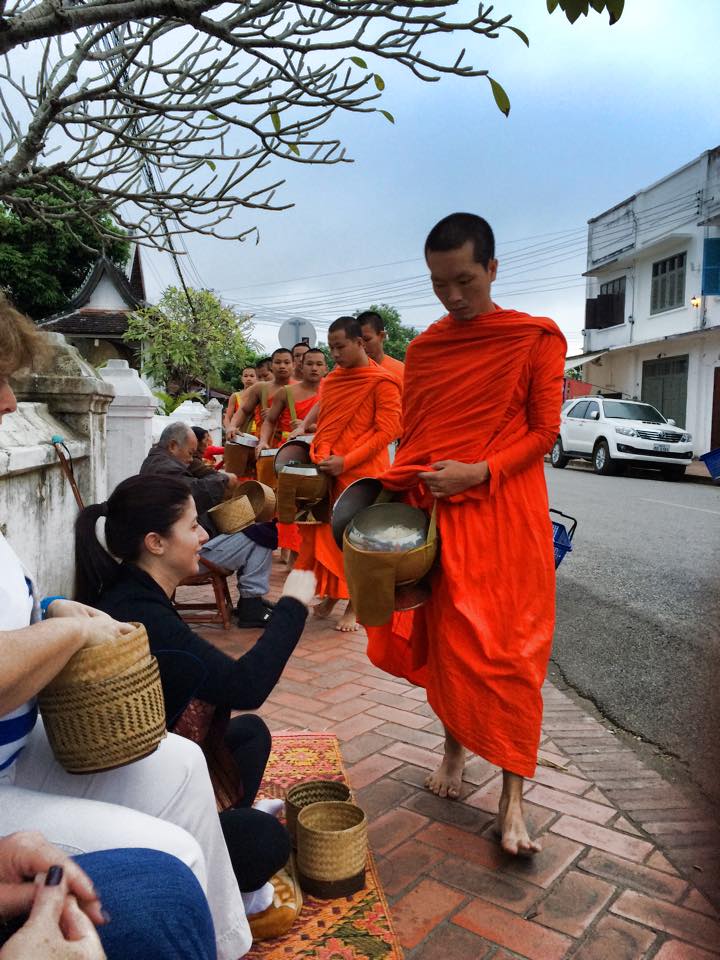
I also always pack snacks like protein bars, snack bars, mixed nuts, etc. for Chad and me (bust, mostly me) to munch on along the way and to share with locals that we encounter (Fun Fact: While giving alms to the monks in Luang Prabang, Laos, we learned that monks love peanut butter. It is apparently quite the rare treat in Laos, which we only learned because we had snack-sized peanut butter packs in our snack packs; so when we ran out of rice, our guide suggested that we switched to Jif, and we quickly became the most popular alms-givers in the processional!). Please see Exhibits A through C below (woohoo, legal ease made it into a blog post!):
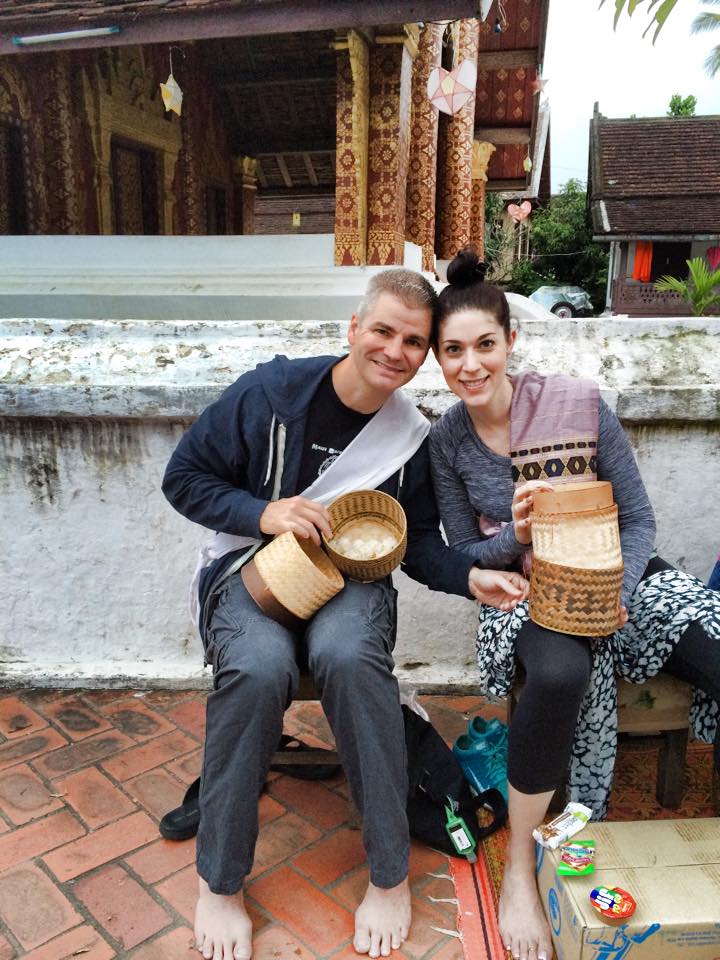

(sorry that this picture is blurry, but it was literally SO early…)
Some other things to consider packing include, baby wipes (because bathrooms with toilet paper are not a given), hand sanitizer for obvious reasons, a control released topical mosquito repellent (like a real one, no Skin So Soft or OFF! BS!), a first-aid kit (which, depending on where you go, should include latex gloves and your own syringe. Yes, really!), batteries, an extra memory card for your camera, a rain poncho, an electric current converter and adapter, a portable phone charger, a car charger for your phone that can be plugged into a cigarette lighter in the car, a travel-sized luggage scale, and internet. That’s right, BYOI (Bring Your Own Internet). I literally love this device because it provides you with a secure WiFi connection pretty much anywhere in the world and you can connect multiple devices (like over 6) to it:

And don’t forget to call your cell phone provider and put an international plan on your phone for your travel dates and location or you will come home to a shocking phone bill. And on that note, don’t forget to turn off your cellular data roaming or you could really be in for a major surprise on your phone bill, as in hundreds or even thousands of dollars in charges! Trust me, that mistake only happens once!
Step Five: Prepare Your Luggage
I try to do Step Four about a week before our trip in order to also do this step. If you are traveling to a place where mosquitoes are prevalent (especially now with Zika everywhere), it is imperative that you treat your luggage and your clothes (mostly the outwear, pants, and non-leather or suede shoes and sneakers) with mosquito repellent. I like this product that we get from the travel clinic because it repels and kills mosquitoes, ticks, and chiggers, is odorless, and is good for 6 washes:
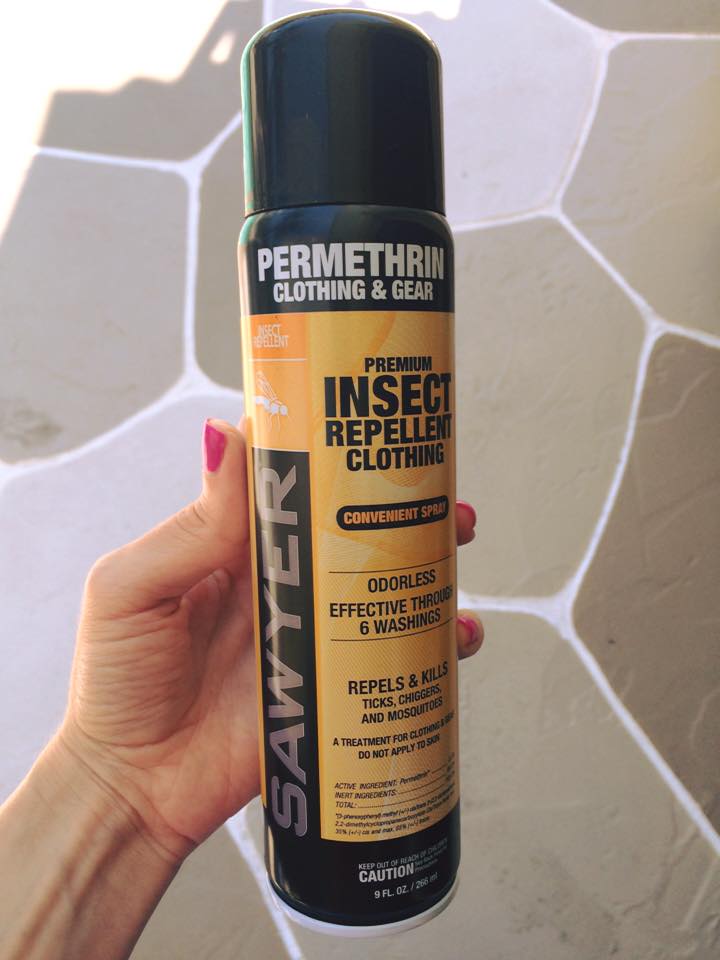
I usually assign this job to Chad because you are not supposed to breath it in or come in contact with it, so this, by definition, is man’s work. You need to treat your luggage and clothes outside in a well-ventilated area, and once it’s on, your luggage and clothes it needs to dry for about 2 to 4 hours. I have used this product on my precious lululemon gear (my adventure travel sportswear of choice), and it is safe. See Chad at work:
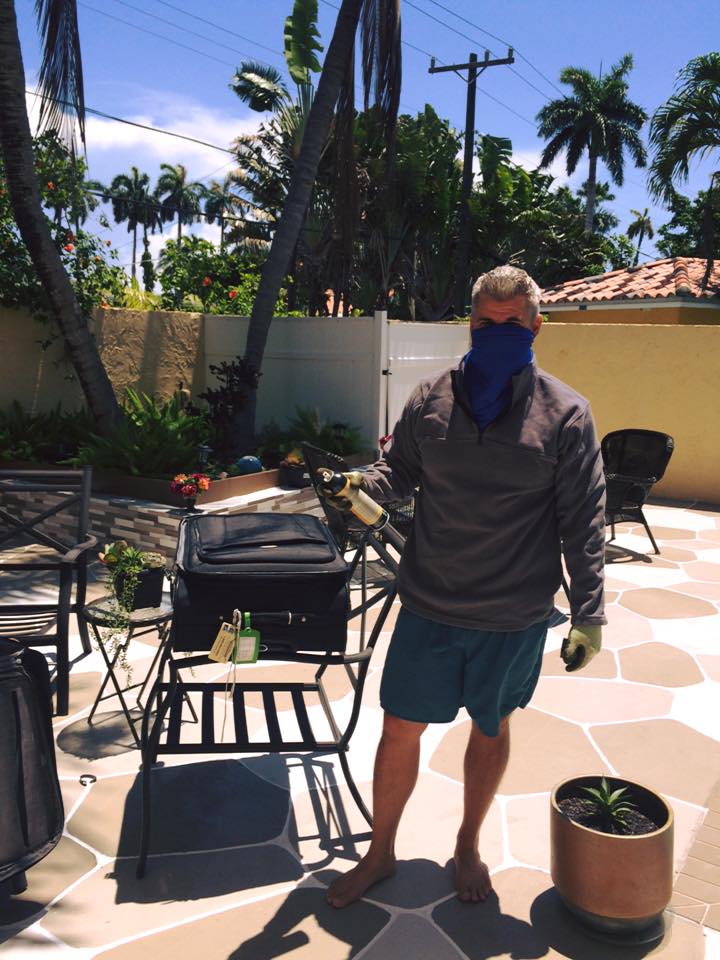
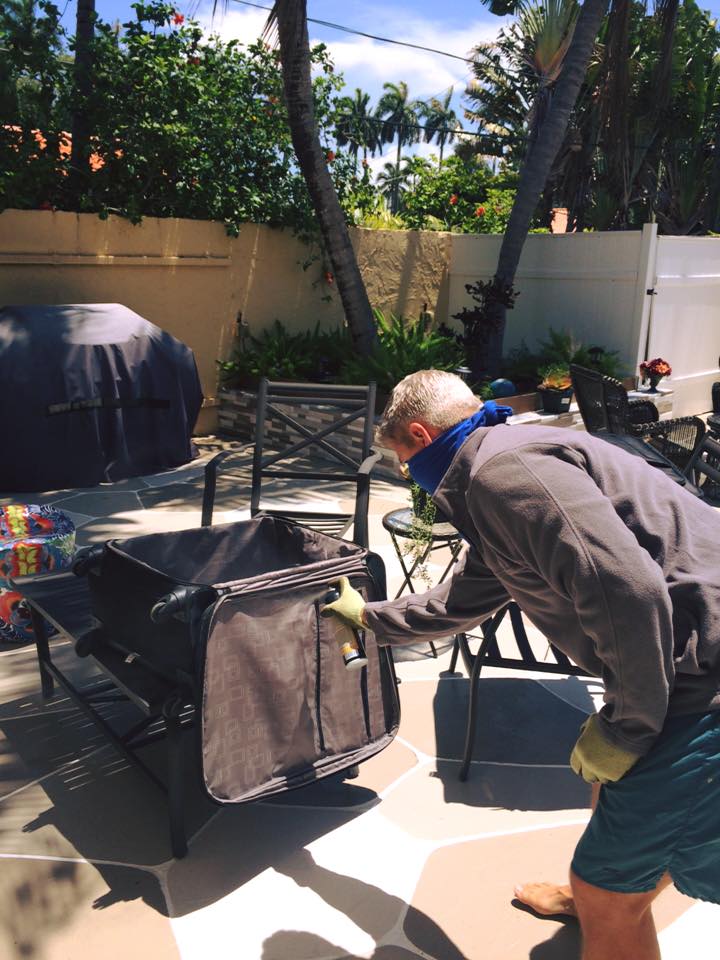
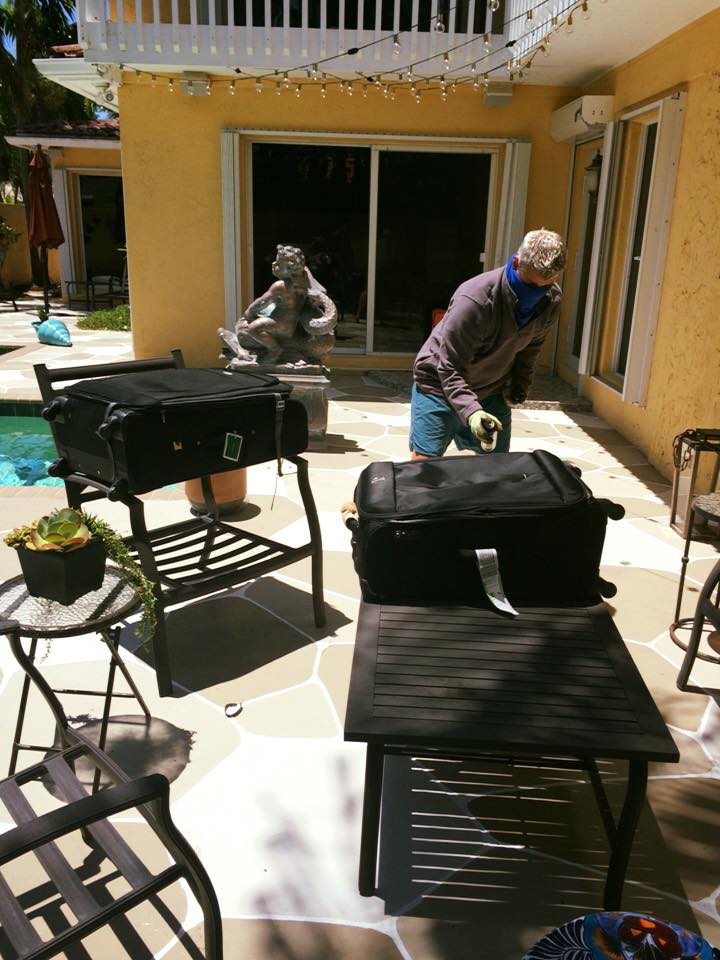
You are almost set to jet, but, before you do, make multiple color photo copies of your itinerary (with all hotel information, contact numbers, and your travel agent’s information), your passport (and your visas!), and the front and back of your driver’s license, health insurance card, your global entry card, and all your credit cards. Take one with you and put it somewhere other than where your valuables are. Then, leave one at home, one at work in a safe location, and a couple with different people that your trust, just in case.
Okay, NOW you’re ready to go! It’s adventure time, baby! Bon Voyage!


